
PRETTY PINK POSH ADORABLE CARD!
In today’s blog post, we will be crafting this delightful card using beautiful products from Pretty Pink Posh. Our creative process will include stamping, die-cutting, coloring, and ink blending.
11/15/2025
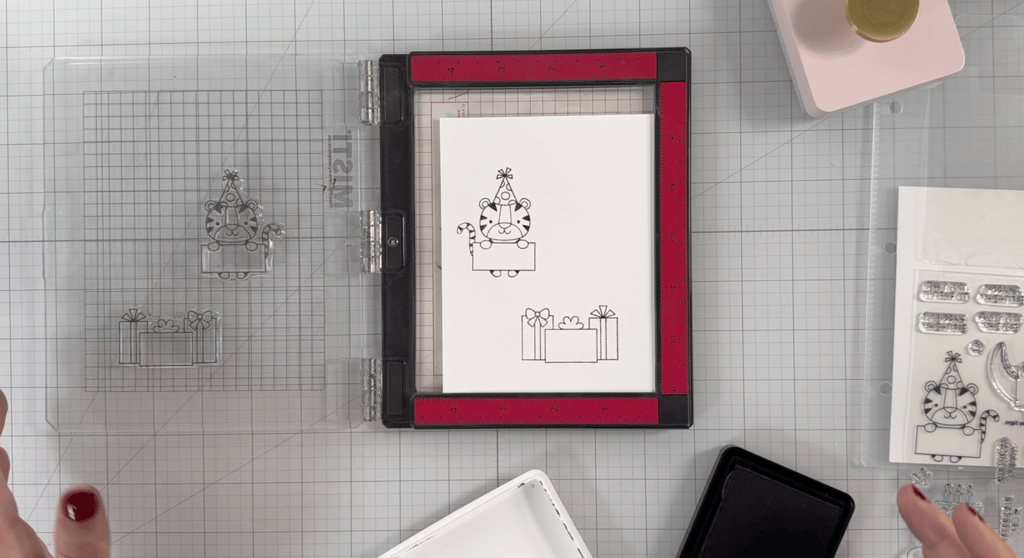
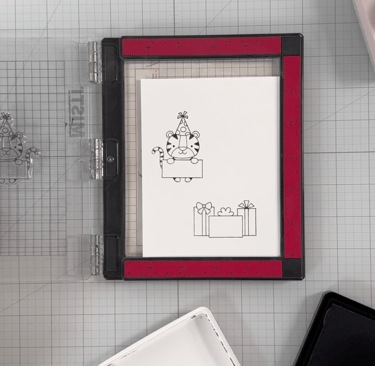
To begin, we’ll start by stamping our images. I’m utilizing my mini MISTI stamping platform along with a Waffle Flower grip mat to keep my cardstock in place. For this project, I'm using the 80-pound version of Neenah Solar White Classic Crest cardstock. I typically use 80-pound for coloring and panels, while the 110-pound Neenah is reserved for card bases.
It's essential to choose an ink that is friendly with alcohol markers to prevent any bleeding while coloring. For today’s card, I'm using Honey Bee Stamps' Intense Black ink. I plan to stamp my images at least two or three times to achieve a crisp impression. To assist with this, I'm making use of my Pinkfresh Studio stamp press. Isn't this tiger wearing a party hat just the cutest? Don’t forget to include a sentiment on his sign; I opted for "Happy Birthday."


As I previously mentioned, I am using COPIC sketch markers for coloring. You can find a list of the colors I selected for this card project right above. To add dimension to my stamped images, I typically use two or three COPIC markers in the same shade, blending from the darkest to the lightest.
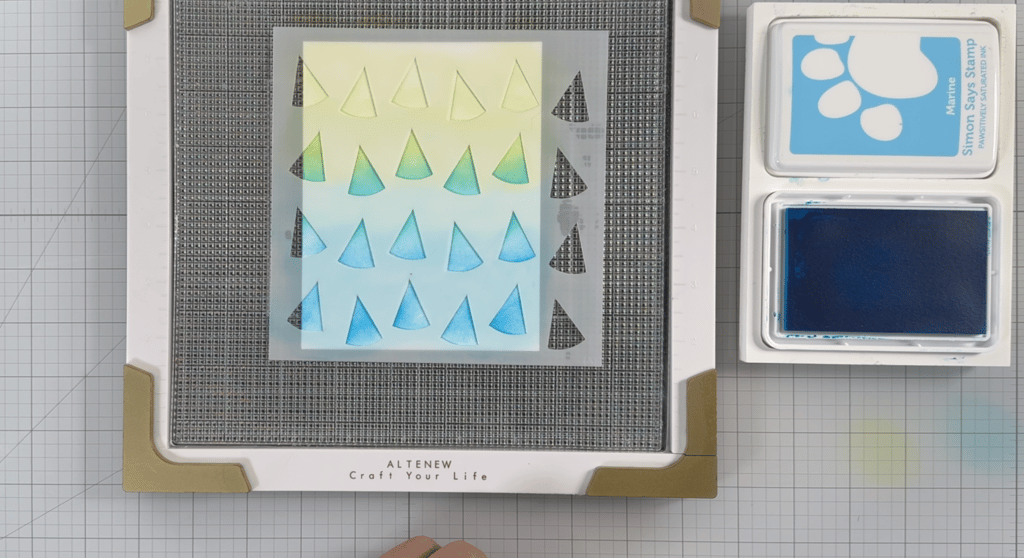
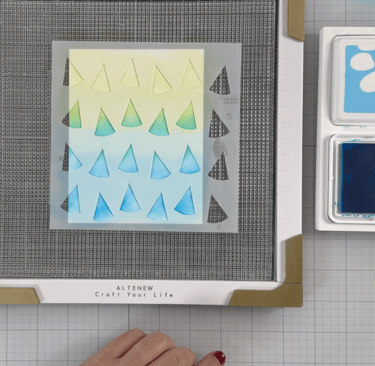
For today’s project, I’m utilizing the delightful Pretty Pink Posh Party Hats stencil set. This kit features four layers, allowing you to establish a base color for your party hats and incorporate fun embellishments like dots and stripes. There’s also a layer for the toppers on the hats, and the final layer adds stars, making it perfect for using stencil paste.
In this project, I chose to skip the last layer, but it's incredibly cute if you can incorporate it! For my color palette, I selected lime green, teal, and blue. I used the lighter shades as the base color, while the next color is slightly darker to add dimension.
For the toppers on the party hats, I could have used stencil paste as well; instead, I opted for a basic gray, which gives the appearance of silver. Remember to apply a light hand while blending from lightest to darkest – you can always add more ink, but you can’t remove it once applied.
Lastly, ensure you clean your stencils between uses. I prefer using isopropyl alcohol as it cleans effectively and dries quickly. I truly enjoy using stencils to craft fun, interesting backgrounds!
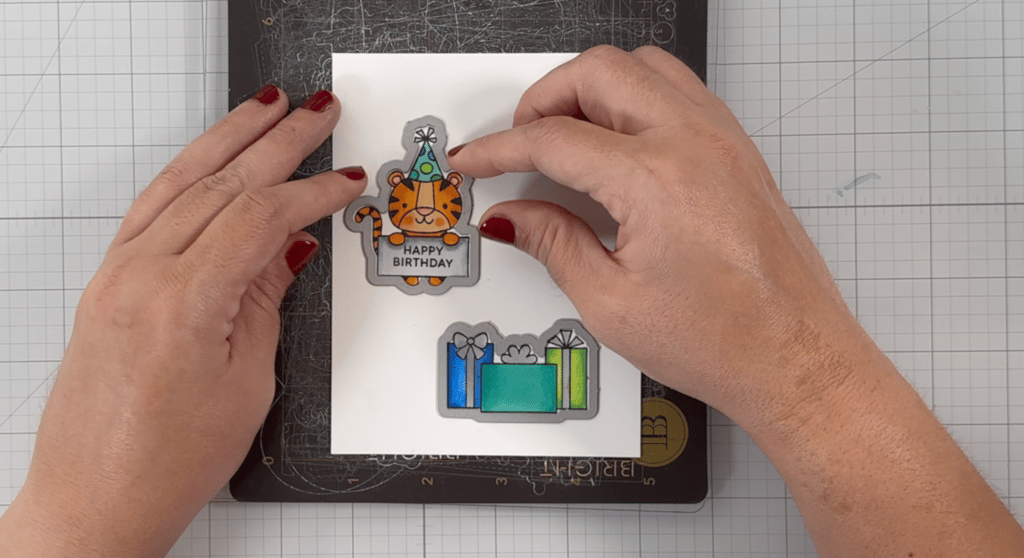
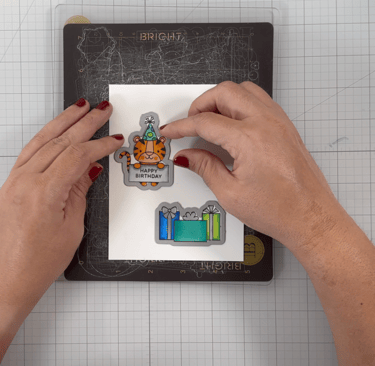
Next, we will begin by cutting out all the images and sentiments we plan to use. I’ll utilize the coordinating die cuts from the Pretty Pink Posh Birthday Sign stamp set to cut out the tiger wearing an adorable party hat and the presents. Additionally, I will use silver mirror cardstock from Simon Says Stamp to create the “Make a Wish” die cut.
I also had the idea to take my ink-blended panel and use a die cut to create a scalloped edge. However, what I thought would keep the panel whole ended up merely cutting the scalloped edge as an additional layer. This was a mistake I decided not to pursue, so I simply kept the trimmed-down panel and went in that direction. Mistakes are part of the crafting journey; after all, it’s just paper. You do your best and move forward!
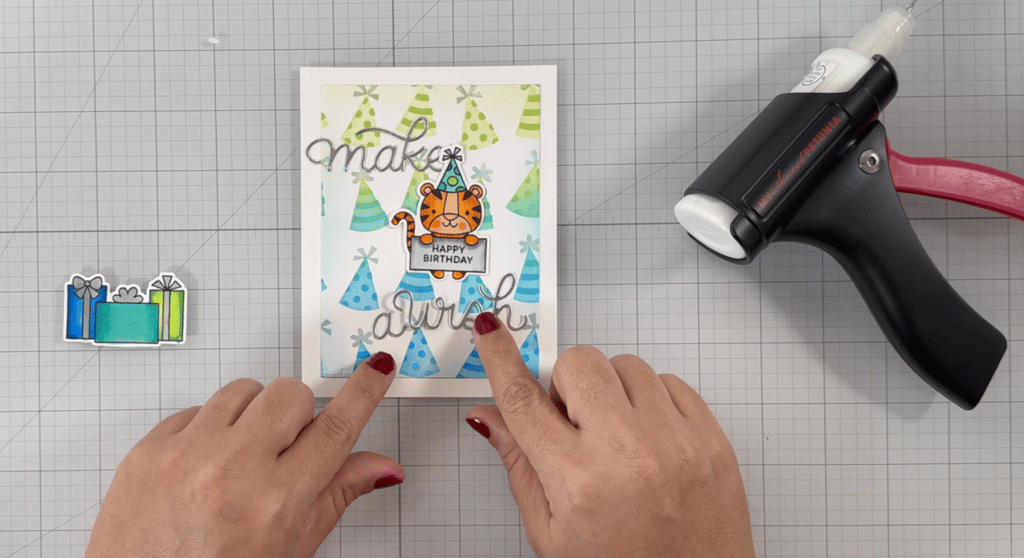
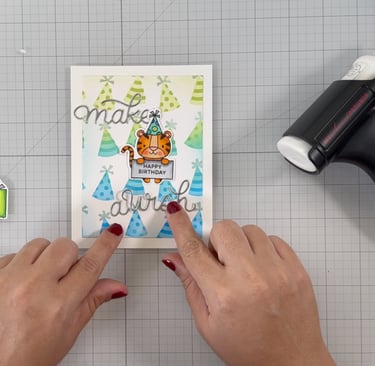
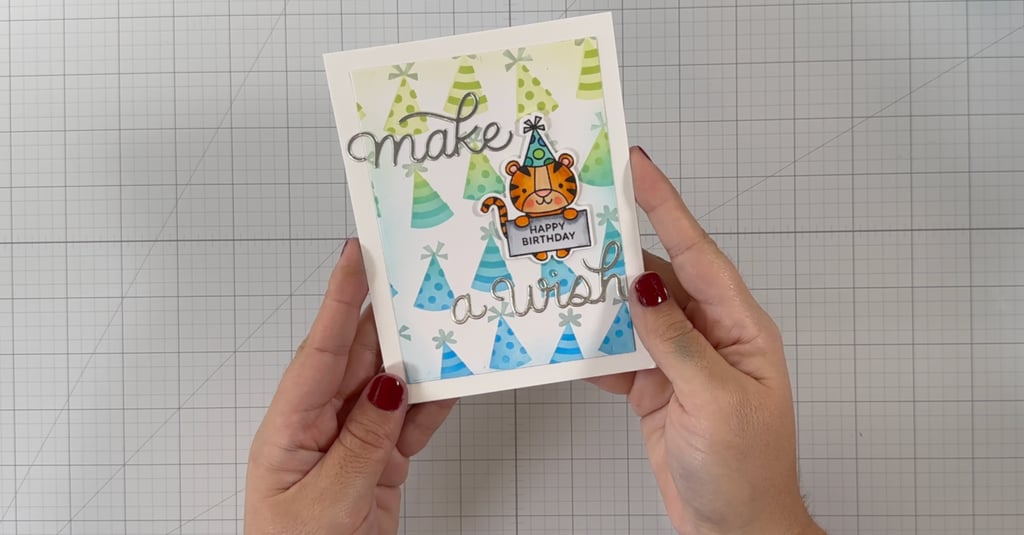
Finally, all of my elements come together as I work with a piece of 80-pound Nina Classic Crest Solar White. I will take my ink-blended panel featuring those adorable Pretty Pink Posh party hats and carefully glue it down, centering it as best as I can. Next, I’ll use the “Make a Wish” die cut, positioning “Make” above our tiger and “Wish” below to create a playful design that flows seamlessly. I'm employing the My Sweet Petunia Glue Press along with my favorite Barely Arts glue to stick all the elements together. I realized I wanted to keep the card simpler, so I decided to set aside the presents for another project. Once my panel is assembled, I will use the same glue to attach it to my card base, which will be crafted from the 110-pound version of Nina Solar White Classic Crest.
Thank you for visiting my inaugural blog post! I hope it sparks your creativity and inspires you to make something enjoyable. In this post, I’m including a few affiliate links that help support my content at no extra cost to you. I truly appreciate you stopping by and I hope you have a beautiful day.

Supply List
Stamping
Coloring
Ink Blended Background
Die Cutting
Assembly
Check Out My YouTube Video
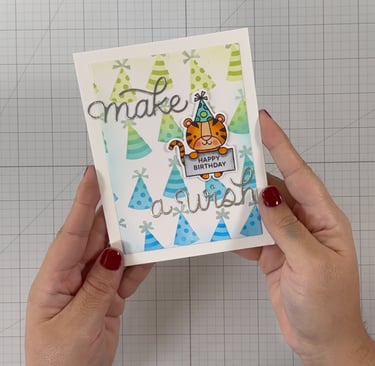
Finished Card Project
Follow Me
Categories
Please feel free to reach out with any questions or concerns by clicking below
Let's Connect
Occasions
You can find my social
media accounts below