

Easy Fall Thank You Cards | Distress Oxide Ink Blending
This post will showcase the Thankful Leaves stencil to create three panels using the hinge method.
THANK YOUINK BLENDING
11/20/2025
It's that wonderful time of year when the leaves transform into stunning deep hues, embodying my favorite season: autumn. Inspired by Kristina Werner's Thankful Leaves collection, I decided to craft three beautiful fall cards.
Finding Inspiration
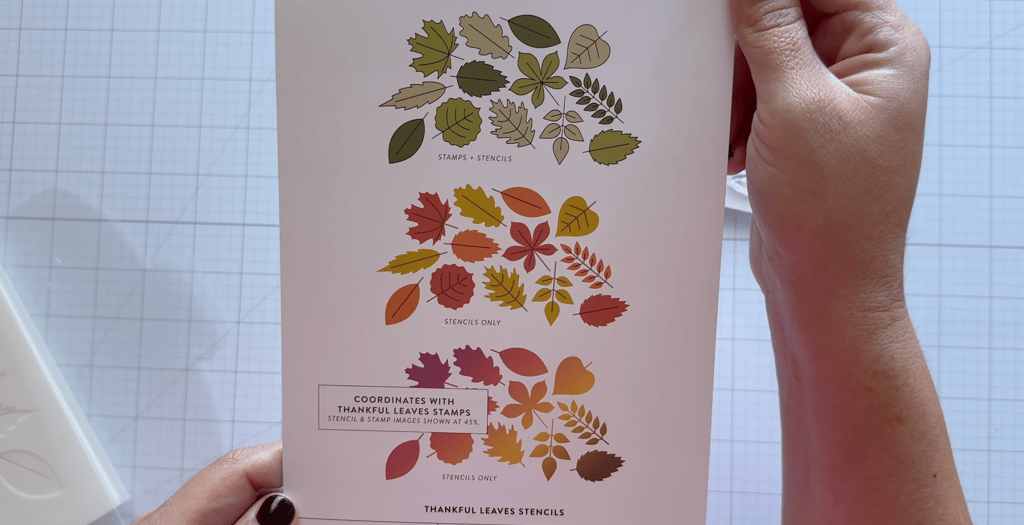
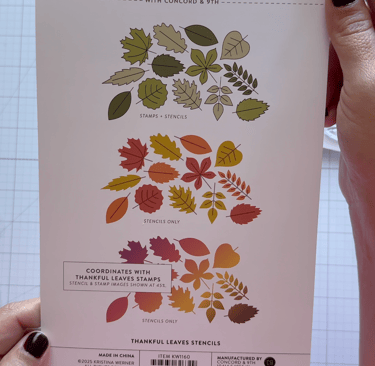
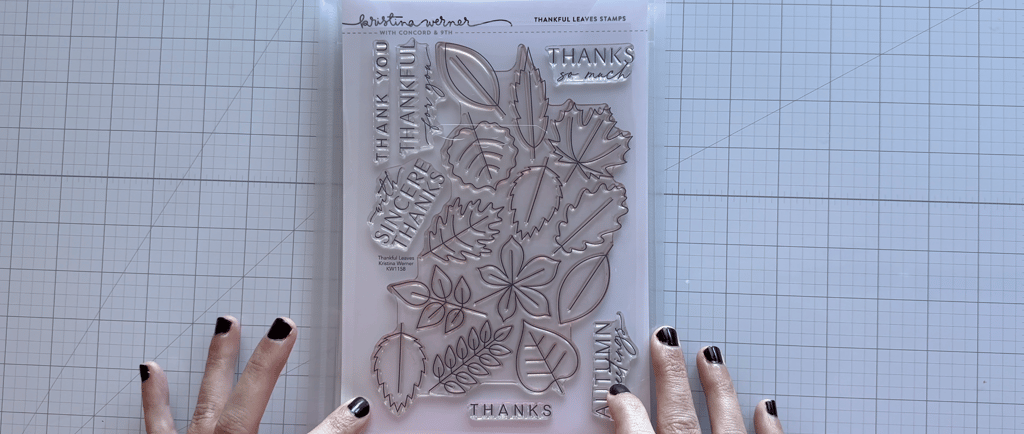
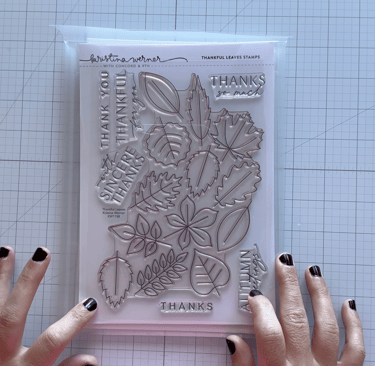
The Thankful Leaves set by Kristina Werner features five layers designed to create beautiful card panels. In today’s post, I will be working with just two of the layers: one that includes all the leaves for ink blending, and the other that will provide the stems.
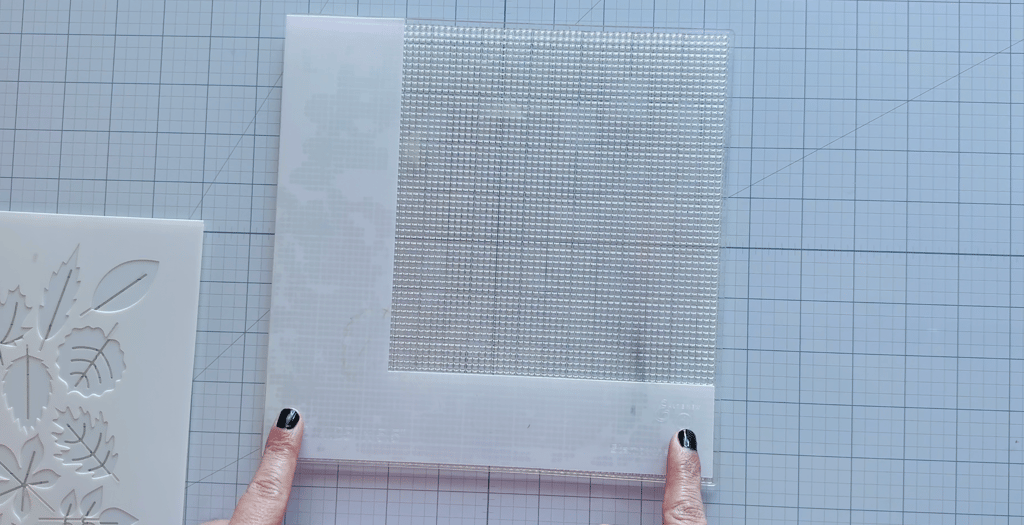
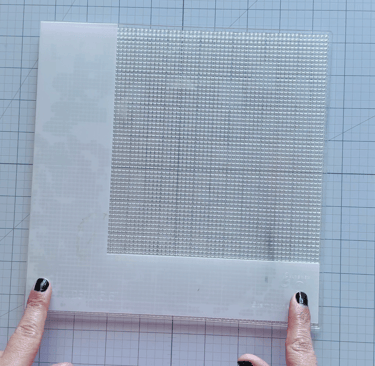
I’m utilizing the sticky mat insert from my Altenew stamp wheel to assist with ink blending today. Additionally, I’m using the alignment guide to ensure that my card panels are positioned consistently each time.
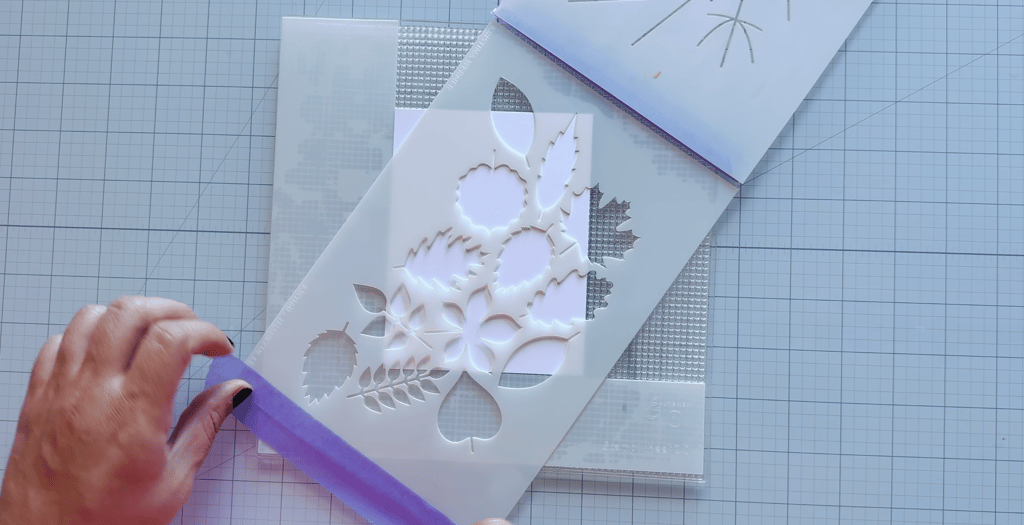

I’m utilizing the hinge method to effortlessly craft three stunning panels. You can create a hinge on a stencil by applying low-tack tape. This technique allows you to lift the stencil and reposition it accurately every time. When working with two layers, tape one stencil at the top and the other at the bottom.

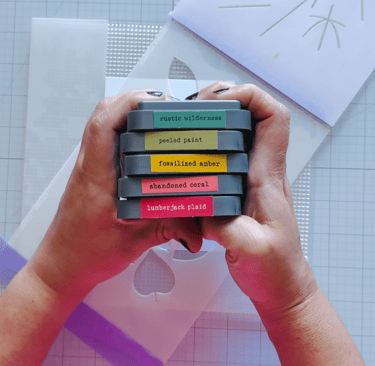

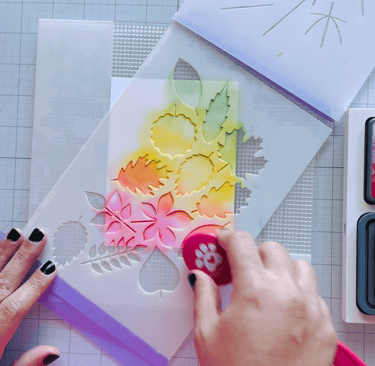
I decided to work with a beautiful array of Distress Oxide ink colors. The shades I've chosen are Rustic Wilderness, Peeled Paint, Fossilized Amber, Abandoned Coral, and Lumberjack Plaid. I'll be blending these colors in this specific order to create a stunning gradient effect.
The Hinge Method for Stencils
I will do my best to maintain a light hand so that I’m able to achieve a smooth blend. Sometimes when your ink pad is too juicy it can result in some harsh lines... I experienced a little of that myself but I was able to go back in with the previous color and smooth it out. The Distress Oxide inks are terrific for blending and I espeically love them for creating scenes.
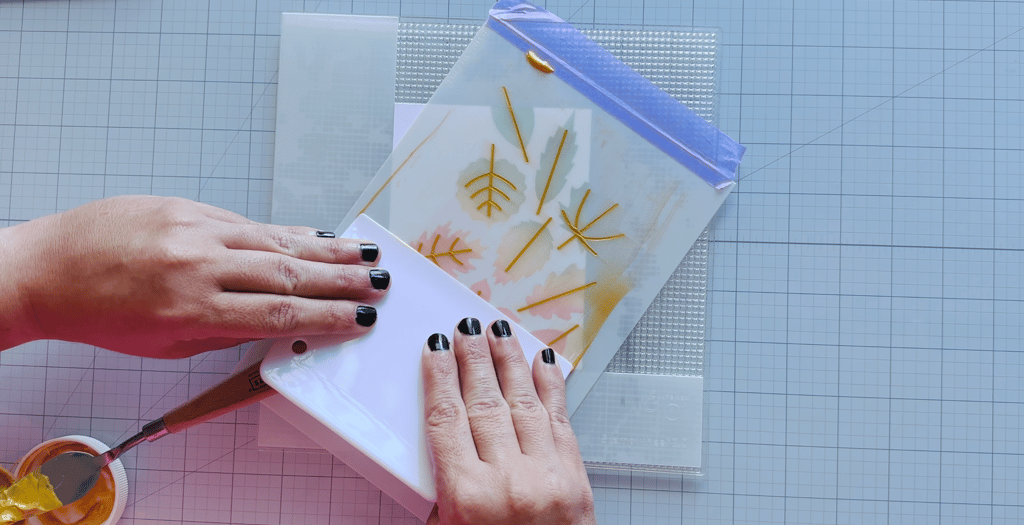
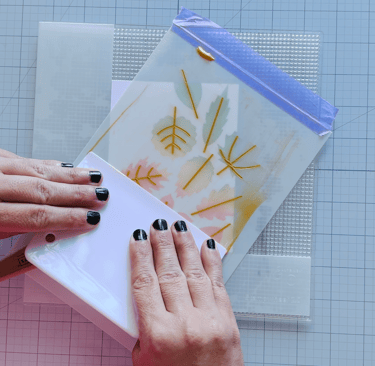
For the stems, I’m utilizing Lawn Fawn gold stencil paste. Additionally, I’m using a palette knife and a stencil buddy to effortlessly apply the stencil paste. Once you finish, simply scrape off the excess, return it to the jar, and lift the stencil to unveil a stunning panel.
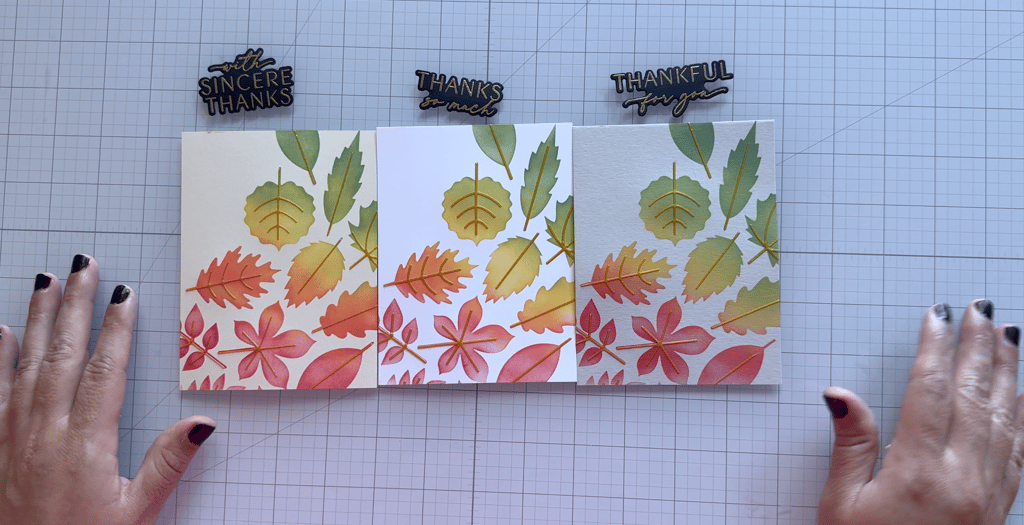
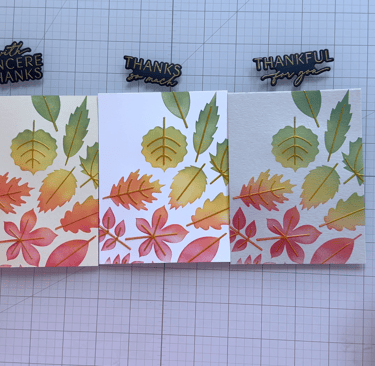
To finalize my card panels, I heat embossed the sentiments using gilded embossing powder from Brutus Monroe on black cardstock. I then utilized the matching dies to cut out the sentiments and applied foam adhesive to attach them to the card panels.
I then placed the completed panels onto Neenah Classic Crest Solar White 110# cardstock that had been sliced and folded in half. The final card dimensions were A2, measuring 5 1/2 x 4 1/4. I really enjoyed how simple it was to create these cards. You could effortlessly produce a whole bunch of Thank You cards to keep on hand.
Thank you very much for visiting today. I wish you a wonderful day!

Follow Me
Categories
Please feel free to reach out with any questions or concerns by clicking below
Let's Connect
Occasions
You can find my social
media accounts below